Field Types: Difference between revisions
Chanceness (talk | contribs) |
Chanceness (talk | contribs) No edit summary |
||
| Line 78: | Line 78: | ||
|Addresss | |Addresss | ||
|Store data address retrieved form the system | |Store data address retrieved form the system | ||
|} | |} | ||
Creating custom fields type. | Creating custom fields type. | ||
Revision as of 12:55, 25 July 2024
Field type
Like data type, specifies kind of data to be stored in the column.
In our system we got a list of generic field type as well as custom field type and how to create them.
1.1 Generic Field Types.
| S/N. | Field Type | Discription |
| a. | Number | Store numbers (Integer, decimal and float) |
| b. | Time | Stores data type time in 24 and 12 clock systems |
| c. | Date | Store data type date - Selection from the calender |
| d. | Store data type email in format as shown in example : sample@email.domain | |
| e. | Phone Number | Store phone number plain and with extension ie. +x xxx - xxx -xxx |
| f. | Image | Store image type png, jpg, |
| g. | File | Store data type pdf, image, |
| h. | Text - Singleline | Store data type text with limited characters |
| i. | Text - Multiline | Store data type text with |
1.2 Custom field types
| S/N. | Field Type | Discription |
| a. | Select | Store data options that are selected form the system i.e. Yes/No |
| b. | Office | Store data office |
| c. | Product | Store data product retrieved form the system |
| d. | Standard | Store data standard retrieved form the ystem |
| e. | Parameter | Store data parameter retrieved form the system |
| f. | Addresss | Store data address retrieved form the system |
Creating custom fields type.
- Creating Options for data type select.
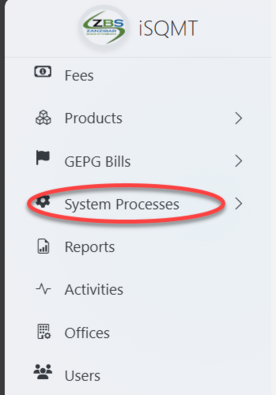
a) From the list of menus on the left select "System Configuration" as shown on the figure below.
b) From the list of options of System processes click "Options"
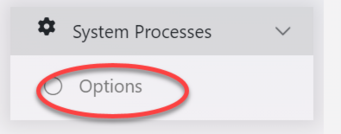
c) User will be landed on the page containing list of options.

d) Fill in the required details, check on the box "Is Active" and click "Create" to save. The option creation will be done.
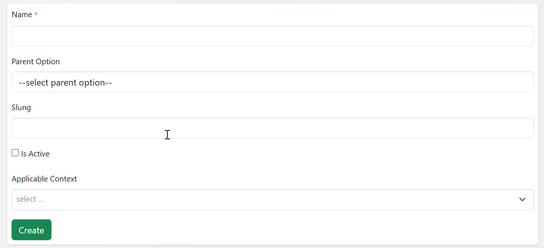
Note: It is important to check the box IS ACTIVE for activation of the form.
2. Adding value on option.
From the list of options point the option you want to add value on. Click on "Value" as shown on the figure below.

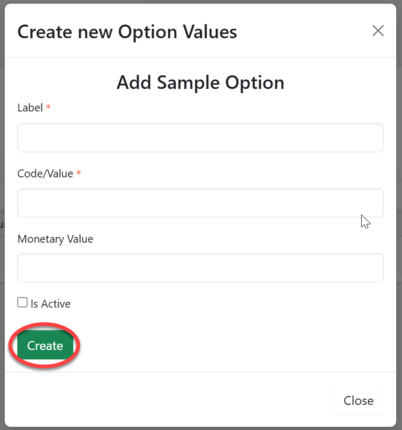
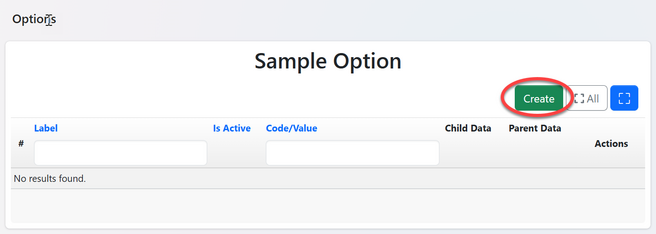
On the pop-up window click on "Create" to create a value as shown on the figure below.
Fill in the required details and save (see figure below)
